Handling Scleral Lenses With Care
In most offices, this task will be performed by one of the office team members. Although, the first interaction the patient might have will be with the technician for that training experience. This is an excellent opportunity to ensure the patient is aware of the proper steps for proactive compliance when applying and removing the lenses, along with cleaning and storage of the lenses
Let’s begin with tips for applying and removing scleral lenses. We will discuss the care and handling in more detail in future articles in our quarterly newsletter.

1) HANDWASHING
The importance of handwashing prior to working with the lenses cannot be overstated. This will remove any foreign contaminants from the patient’s hands, prior to lens handling. The best way to ensure the patient is doing this correctly, is having the patient handwash in front of the technician to demonstrate the importance.

2) TEACHING AREA
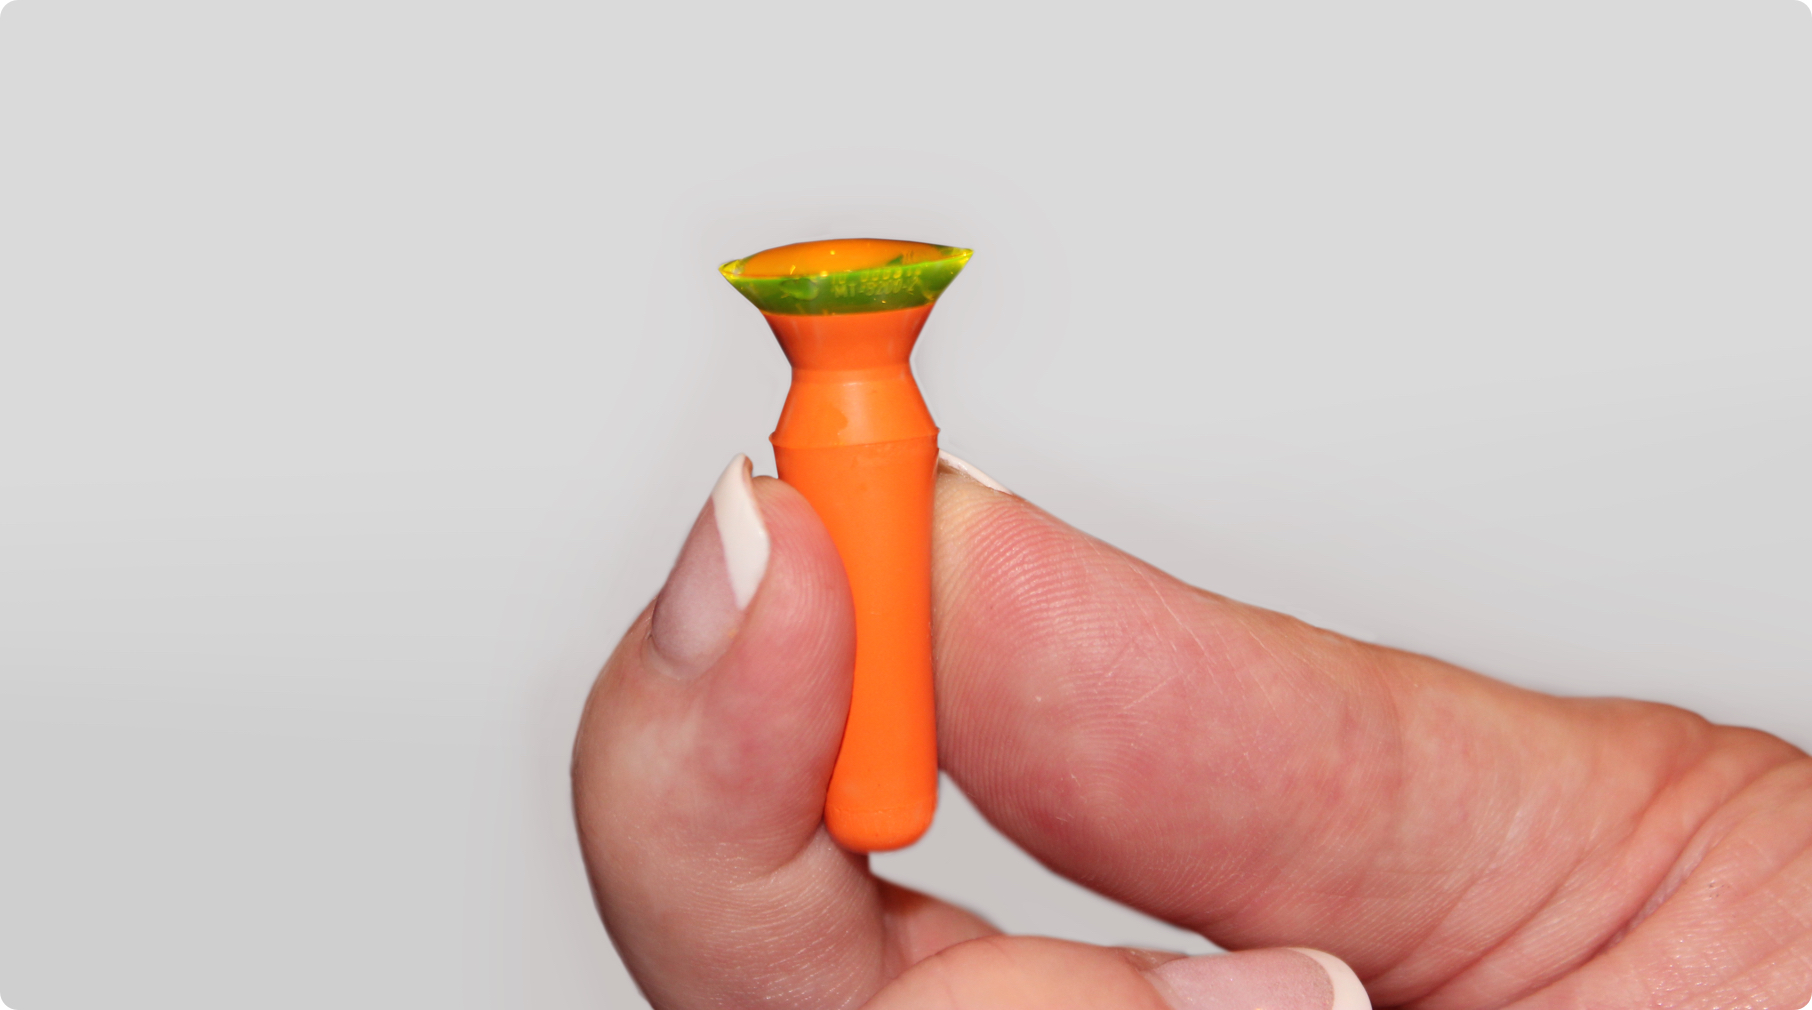
Setting up the teaching area. Prior to the appointment, prepare an area where the patient will be learning how to manage their new lenses. Make sure you have the following available; suction devices, a table mirror, tissues, and a rinsing/insertion solution.
3) APPLICATION

Start with preparing the lens for application. Remove the lens from the case. If plasma or Tangible Hydra-PEG treated, remove the lens with a dumping motion. Please do not scrape over the case. In fact, it may be best to always dump into the hand, as one may be unsure of whether the lens is treated or not. Rinse the lens with non-preserved saline.

The patient should then place the lens on an insertion tool or balance between the fingers, then fill with non-preserved saline.

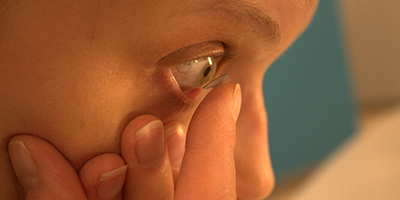
The application process begins with the patient positioning their face perpendicular to the floor or staring into a table mirror. The lids should be gently pulled away from the eye. Next, place the lens on the eye with a smooth slow motion, allowing for all edges of the lens to touch eye at the same time. Apply very slight pressure and remove fingers or inserter, releasing the lower lid to position lens. Then release upper lid.

4) REMOVAL
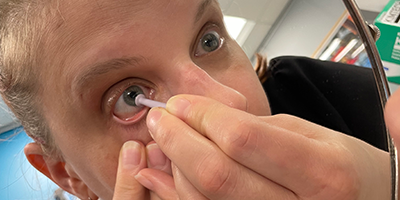
The patient should select a small DMV style remover that appeals to them, which could be any of the following: vented, non-vented, or 45-degree angle. For removal, we want to create suction between remover and edge of the scleral lens. Wet end of remover tool with wetting solution or non-preserved saline, which will help to create a suction. Continue to hold the lids away from lens edge.

Place remover with a gentle hand on the edge of the scleral lens. Very important to never place the remover on the center of the scleral lens. Once placed, release remover to assure its attached to lens - do not let go of lids. Grasp remover and wiggle remover and lens slightly, from side to side or use lid to depress sclera, releasing scleral lens from eye.

Pull lens from eye with a gentle lifting motion. Once lens is removed, use a gentle turning motion to remove tool from lens.

To use the lids grasp method, open eye as far as possible, and place fingers on lids. Make sure to open eye to position lids outside of the scleral lens edge. Apply slight pressure to lid margins, outside of lens edge, creating a slight scleral depression.
When using the lids to force blink to catch lens edge, one should release the scleral lens and pop or lift the lens away from the eye. Be careful of lens popping away or falling to the floor- consider doing this over a flat surface covered with a white towel.

Immediately clean the lens and place into the storage case with the recommended solution.
Lens care will be covered in more detail in the next issue of this newsletter.
Contact your ABB Specialty Vision Products Team at lunchandlearn@abboptical.com for additional information regarding staff training webinars and training opportunities.


